Hot Picks
How to Use Whoer to Check Your IP & Fix Fingerprint Leaks (2026 Guide)

Hot Picks
How to Play Roblox Unblocked at School on Computer/iPad 2025 Using BitBrowser
Hot Picks
How to Browse Reddit Anonymously on PC, iOS & Android (Complete Privacy Guide in 2026)
Setting Up Static and Rotating Residential Proxies by Proxyma in BitBrowser: A Step-by-Step Guide
Time: 2023-12-27 11:47 Click:
Introduction
Hey there! Step into the world where innovation meets privacy! In the fast-paced digital scene, where keeping things private and performing at your best is key, BitBrowser stands out as a real game-changer.
Today, we embark on a journey to explore the seamless integration of Proxyma's reliable residential proxies within BitBrowser—an anti-detect browser that empowers users with multi-account management, group-control windows, RPA task execution, and an arsenal of advantages to thwart detection and safeguard your online endeavors.
A Step-by-Step Guide:
Now, let's dive into the practical aspect—how to seamlessly integrate Proxyma's proxies into BitBrowser for an enhanced and secure online experience.
Step 1: Registration and Login:
Begin your journey by visiting the official websites of BitBrowser and Proxyma. Complete the account registration and log in to your accounts

Step 2: Extract Proxies According to Your Needs
After registration, head to Proxyma's official website. Log in using your account credentials and extract proxies tailored to your specific requirements. Proxyma's user-friendly interface makes this process a breeze.
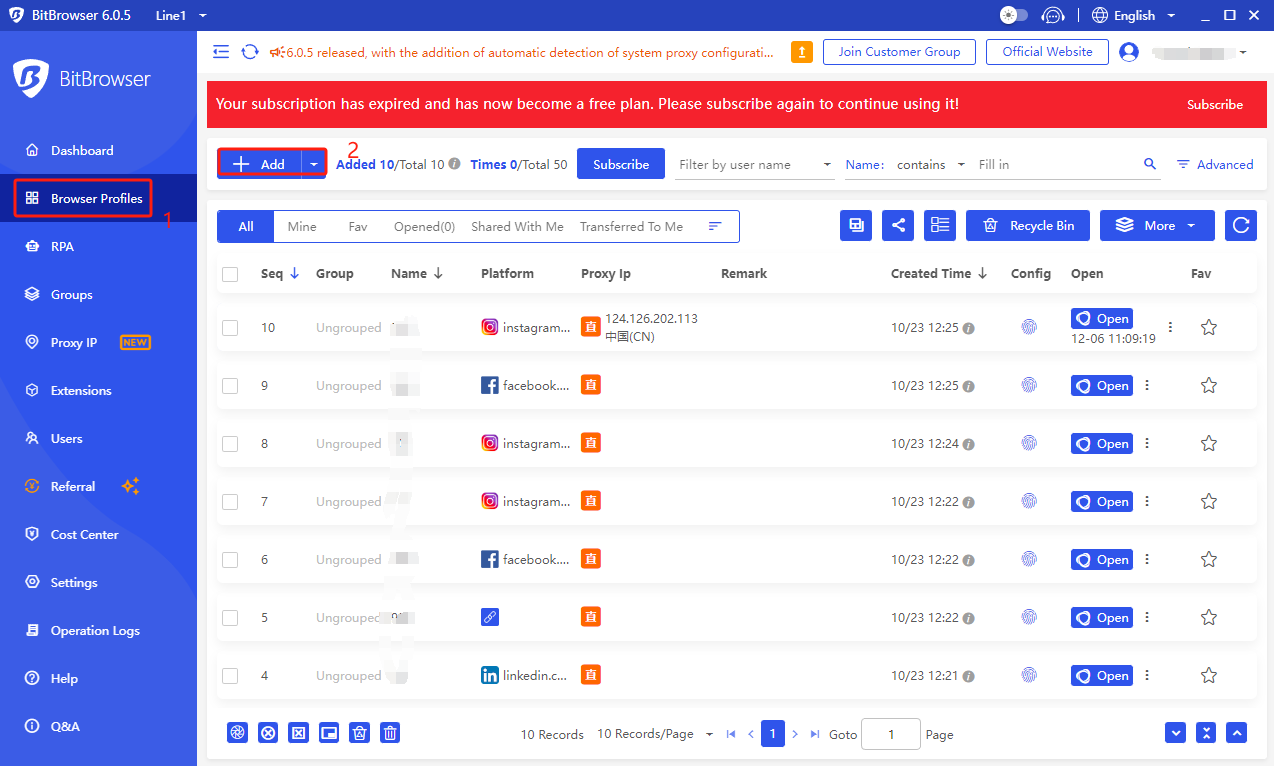
Step 3: Add Proxy Information to BitBrowser Settings
Once you have your proxies ready, navigate to BitBrowser. In the settings, locate the option to add proxies. Input the necessary proxy information and proceed to the next step.
Step 4: Detect Proxies
BitBrowser comes equipped with a proxy detection feature. Activate this feature to ensure that the added proxies are functioning seamlessly.
Step 5: Custom Configuration
In the "Custom" field, enter the address of the proxy server you want to use. This step allows you to tailor your proxy settings to match your specific needs.
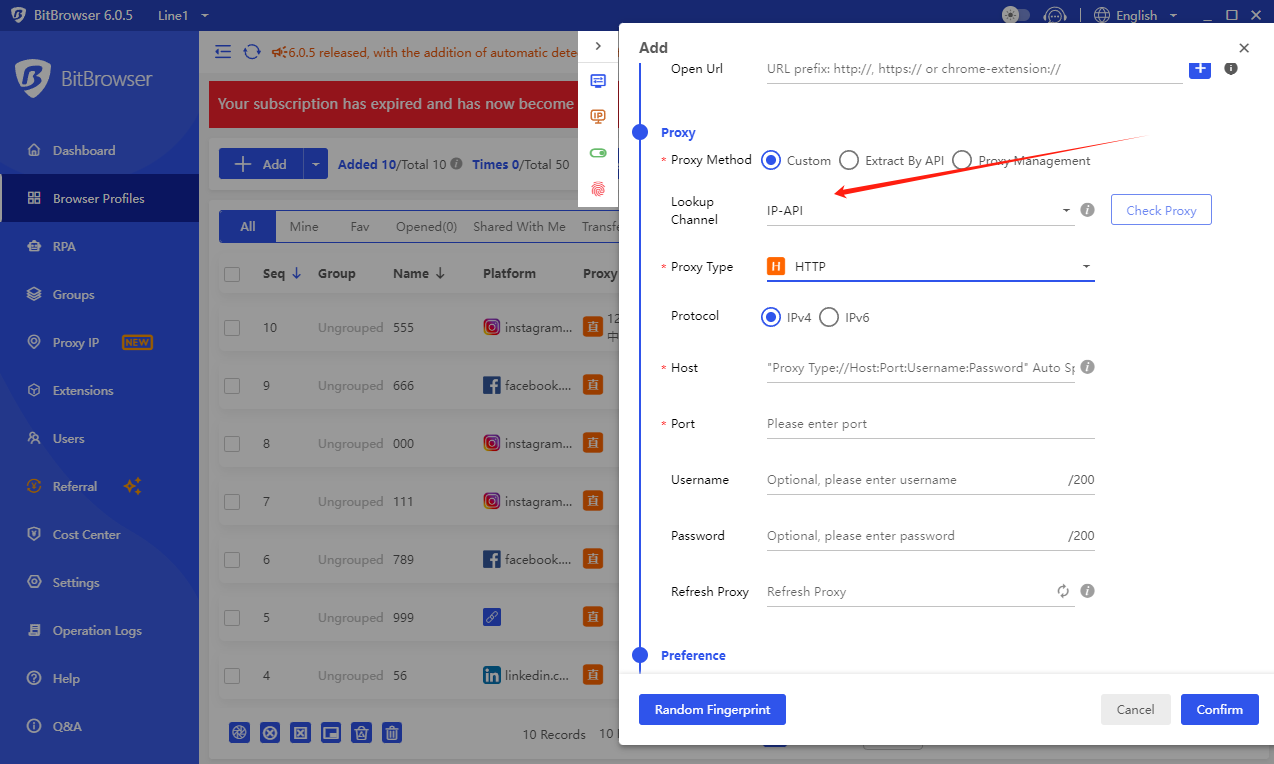
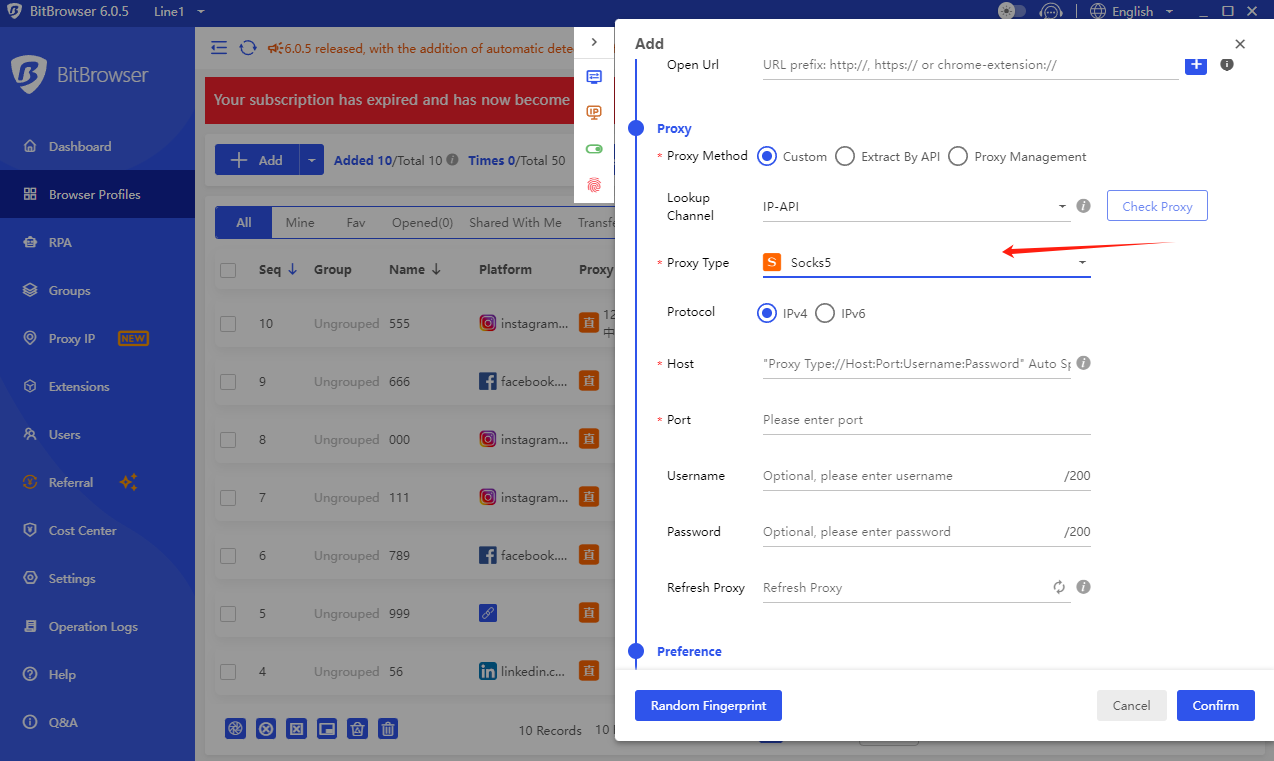
Step 6: Select Proxy Type
Choose the type of proxy server—whether it's HTTP, HTTPS, or SOCKS. Proxyma supports various proxy types, giving you flexibility and control over your online activities.
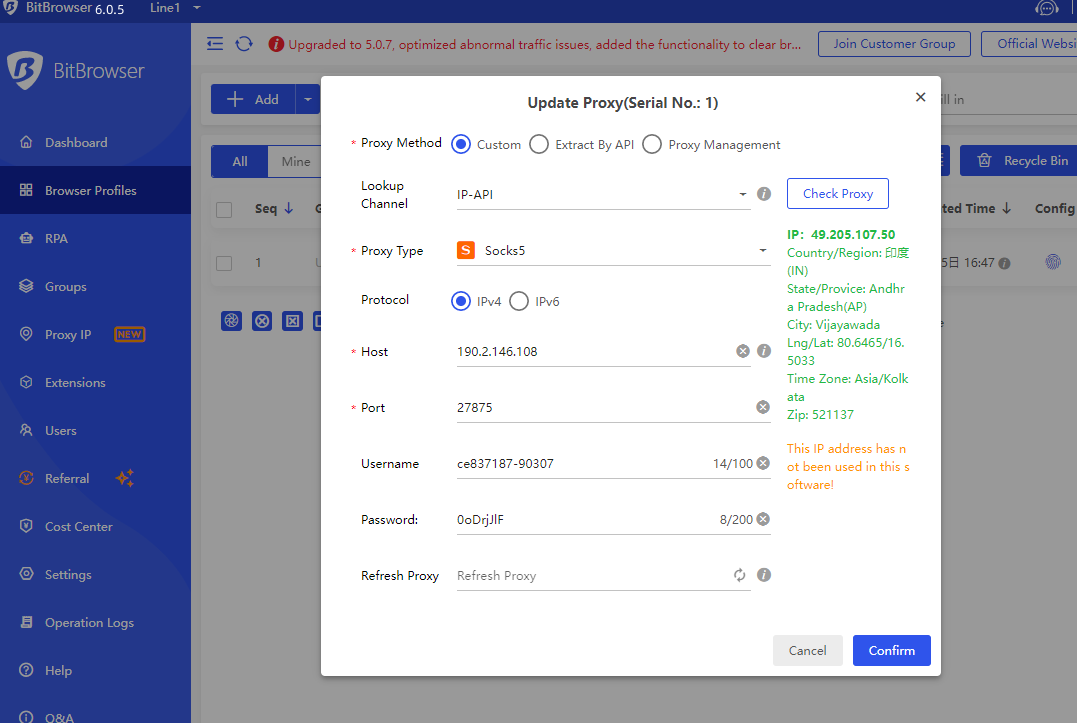
Step 7: Enter Proxy Server Details
In the "Host" field, input the proxy server port. This crucial step ensures that BitBrowser connects to Proxyma's servers seamlessly.
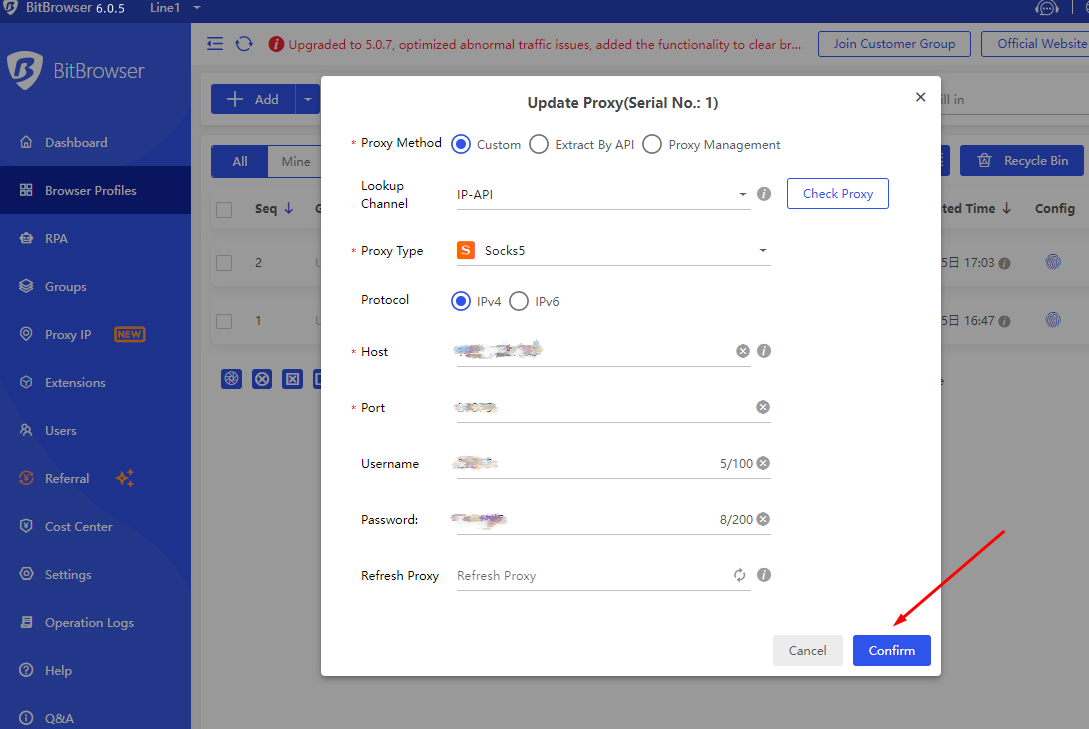
Step 8: Confirmation
Click the "Confirm" button to solidify your proxy settings. This step ensures that your chosen proxies are active and ready to enhance your browsing experience.
Conclusion
And there you have it—a comprehensive guide on integrating Proxyma's static and rotating residential proxies seamlessly within BitBrowser. Now, armed with the power of Proxyma, you can navigate the digital landscape with confidence, ensuring privacy, security, and optimal performance.
For more tutorials, tips, and insights, stay tuned to the official BitBrowser website. As the digital realm evolves, BitBrowser and Proxyma are here to empower your online journey.
Unlock boundless possibilities. Explore the fusion of BitBrowser and Proxyma—a winning combination for the digital era.
 Multi-Account Management
 Prevent Account Association
 Multi-Employee Management
Recommended
See More ![]()